Showing posts with label Hero Arts stamp. Show all posts

Saturday, May 25, 2019

Hot Sunshine Flower


Hello everyone! To share with you today is the card I made for Addicted to stamp May challenge. The theme is
At first, I planned to create a pastel sweet floral card. As the time I made this card, the temperature in my hometown had risen to 38 deg C (above 100 deg F). The super-hot temperature inspired me to create summer-theme flower card instead. Here it is.

I used stamp from Hero Arts “Newspaper Flower” which I had on shelf for years. The sentiment stamp is from Lily of the Valley. The leaf was hand-drawn. The patterned paper is from gift wrapping paper.

Thank you for stopping by. Have a wonderful sunshine day.

Monday, February 19, 2018

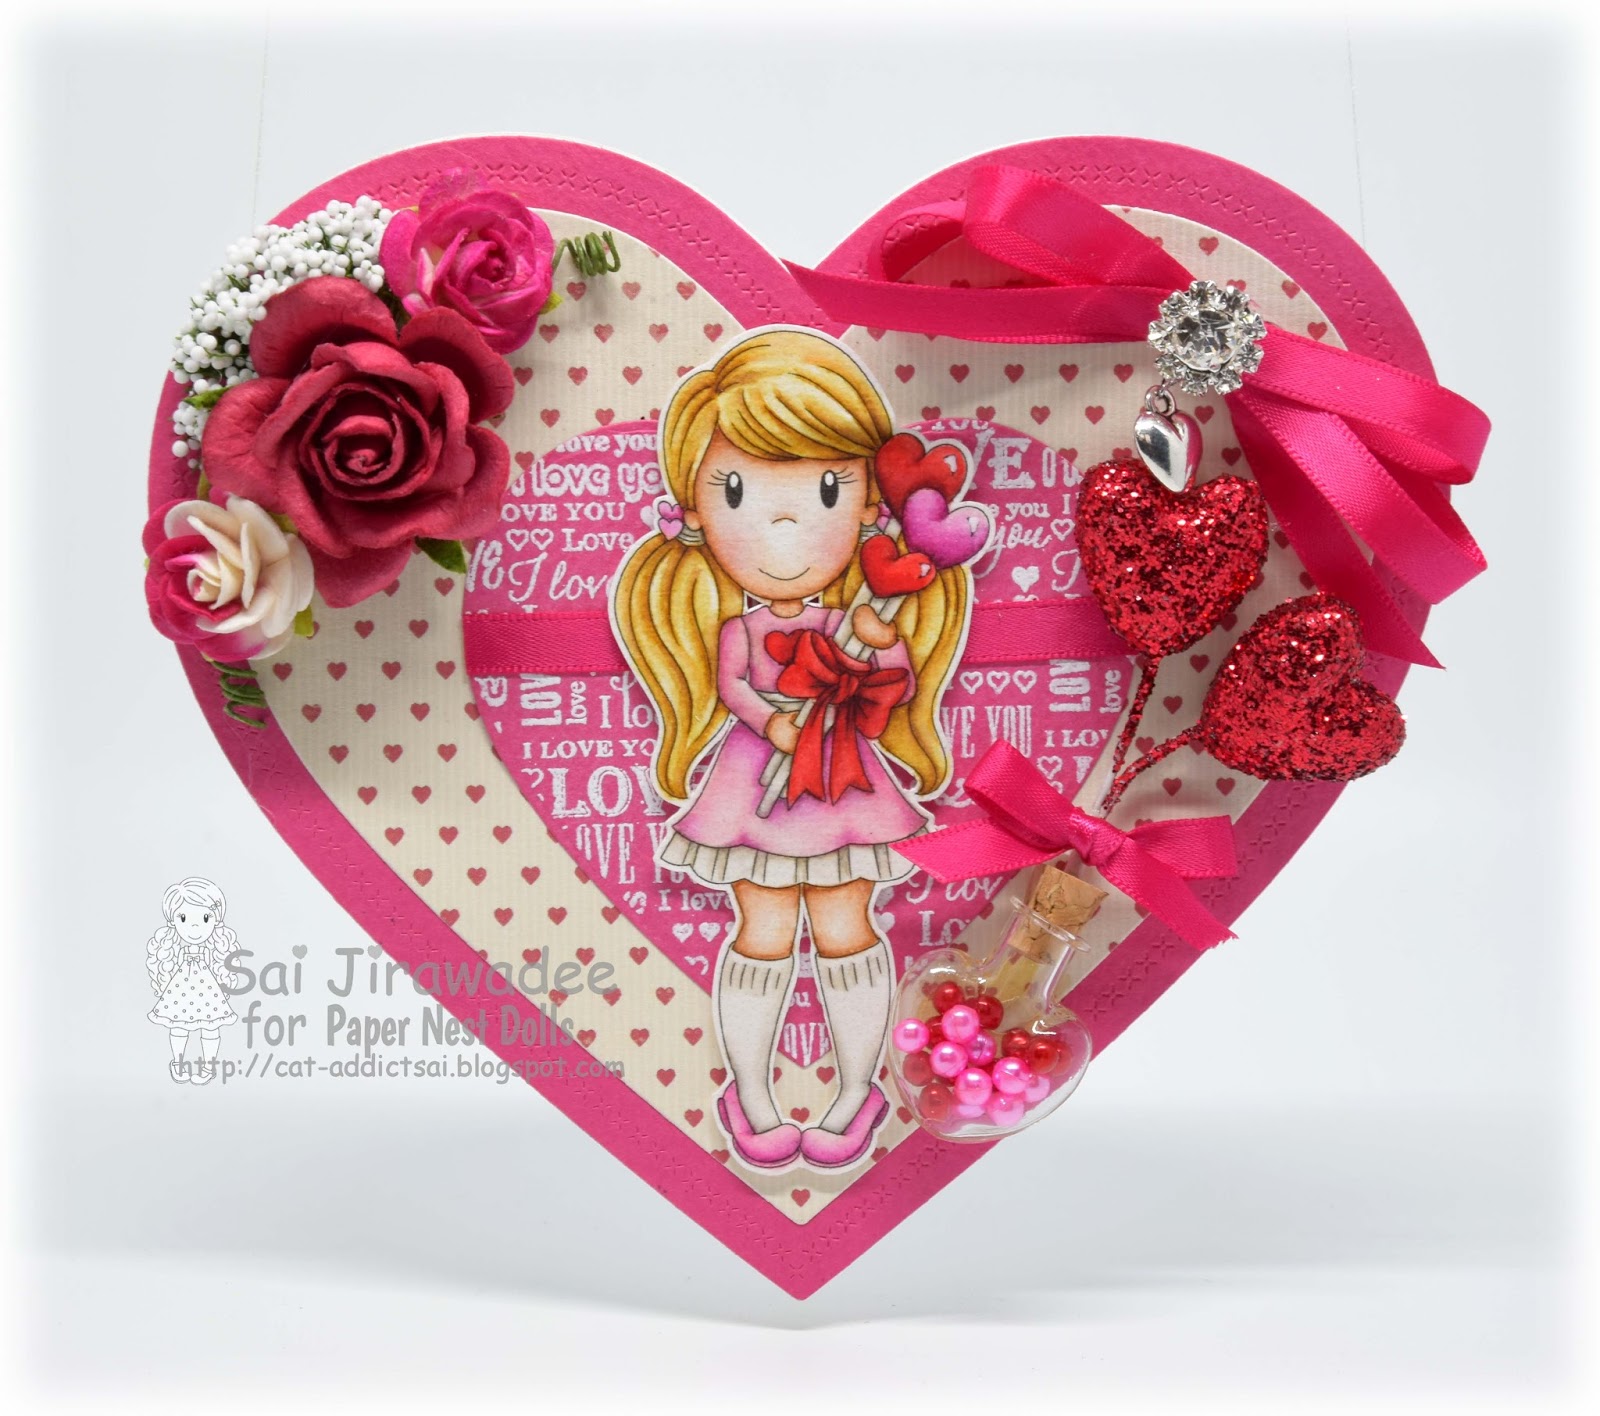
PND Emma with Heart Balloons Heart Shaped Card


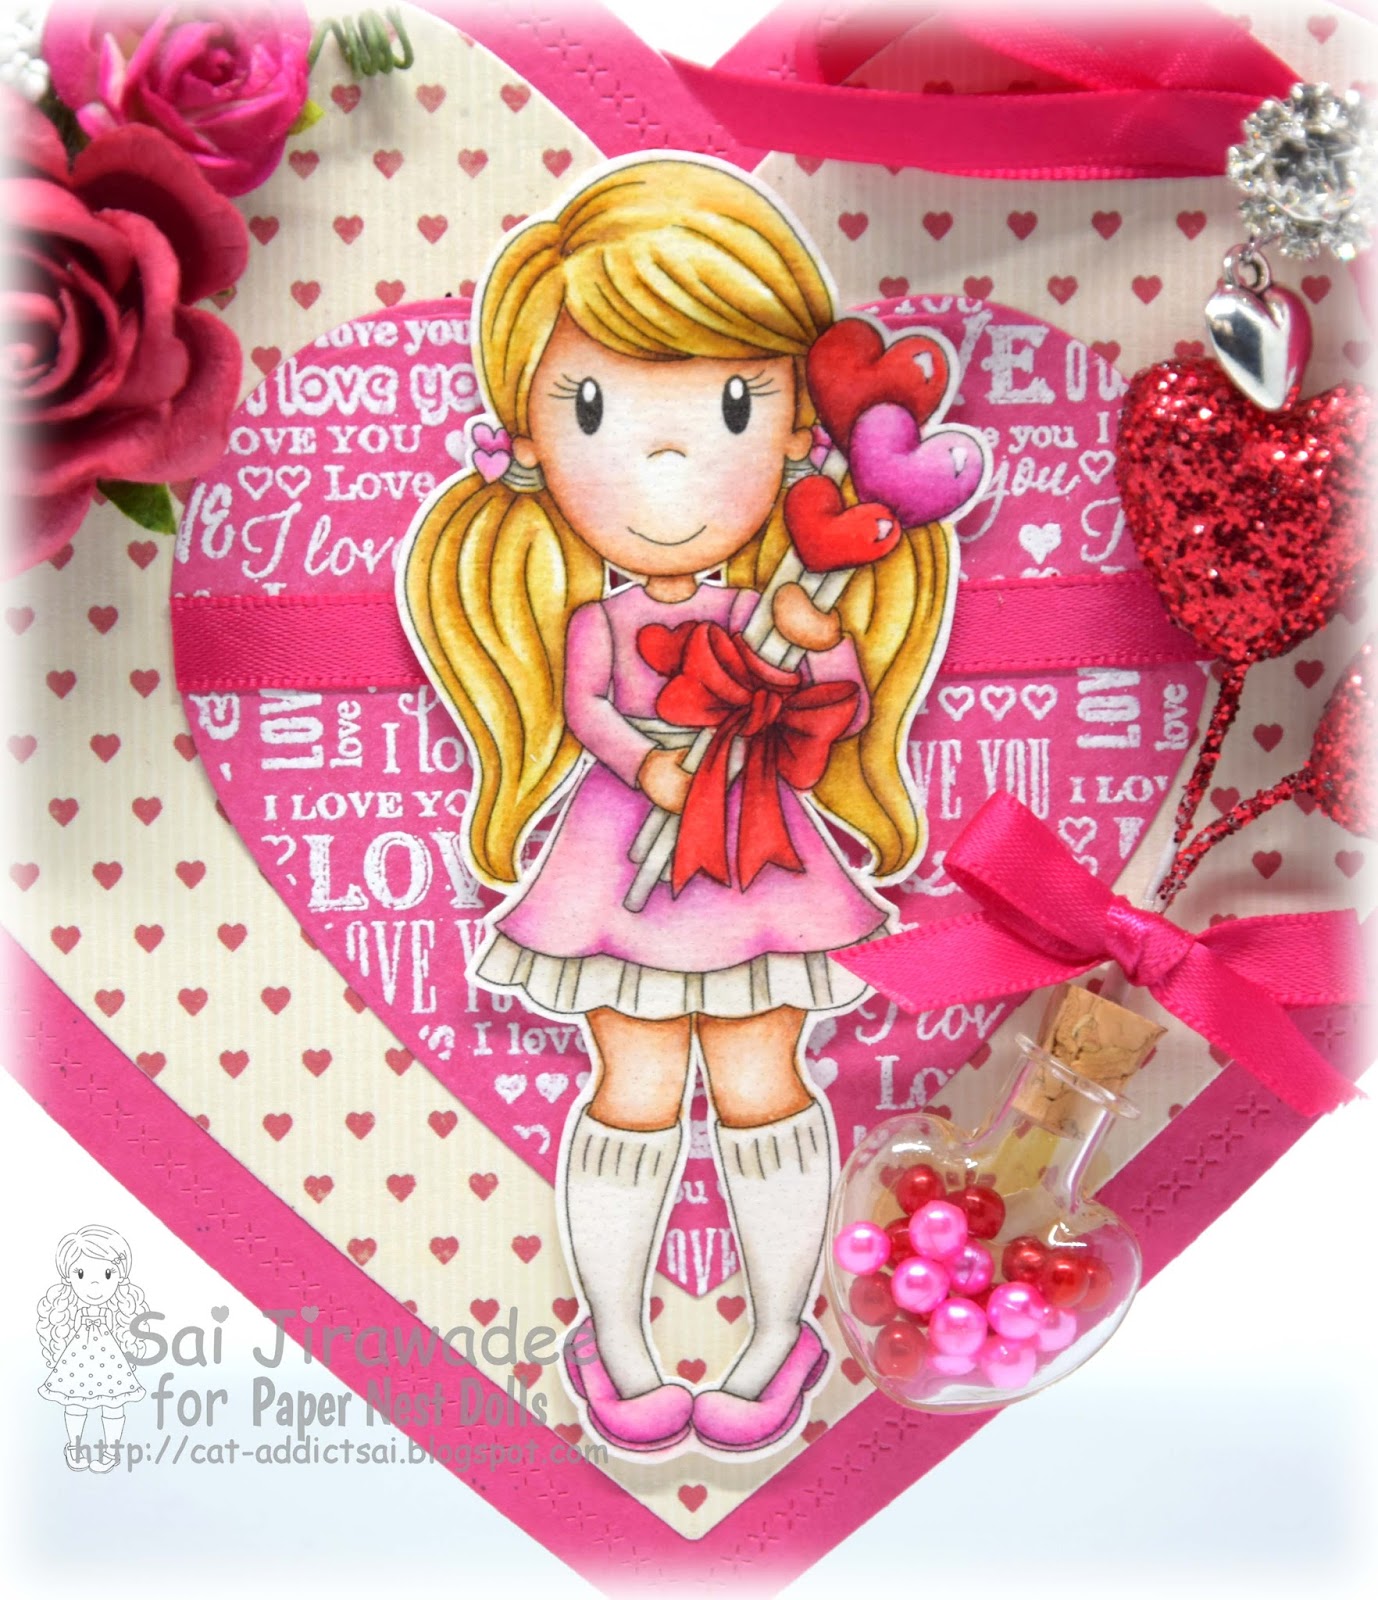
Hello everyone! I have a belated Valentine’s card to share with you. I made this card to share with The Paper Nest Doll Blog post. The image is called “Emma with Heart Balloons”. I created the card in heart shape to match with the image theme.
PND Emma with Heart Balloons Heart Shaped Card

The image was colored with distress ink. I heat embossed the background with stamp from Hero Arts.
PND Emma with Heart Balloons

I decorated the card with paper flowers, ribbon, and some heart shaped embellishments in pink and red colors.


I would like to enter this card to these challenges.
I hope you like my card today. Thank you for stopping by

Wednesday, June 1, 2016

Wedding Photo Frame

Hi everyone! Today, it is time for the new challenge at Magnolia Forever. The theme is

The project for this challenge is the wedding gift for my friend. I made a 4x6 inch photo frame using “Wedding Tilda” and “Where is My Bride Edwin” stamps from Special Moments 2013 collection. When putting photo into this frame, I want the photo to be focal point so I just add only few decorations at the corners.
Wedding Photo Frame Magnolia Wedding Tilda where is my bride Edwin
 Here is the close up for bride and groom.
Magnolia Wedding Tilda where is my bride Edwin
I used Sizzix Tim Holtz “Small Easel” as a stand for this frame. The easel can be laid flat or easily assembled to display the photo
I would like to enter this creation to these challenges.

We also have a DT call at Magnolia Forever challenge. If you are interested to join our design team, please find more details in the challenge post. 
Thank you for visiting my blog. Have a great day!

Monday, May 2, 2016

‘A Boy’s Life’ Distress Ink Storage Box

Hello everyone! Today I have a project for Magnolia Forever challenge to share with you. The theme for this challenge is

To match the theme, I wanted to use dark colour tone for this creation. When I went through the Edwin Stamps that I had, I came up with the idea for this project. I always colour the stamped images with distress ink so I would like to make a box to store them. I had total 17 ink pads (and many more in mini size) so I made a storage box with 18 slots. Since I tend to buy more distress ink pads in mini size, just one empty slot will be enough. I also put my blog’s name on this box because it will be the treasure of my craft room.
Distress Ink Storage Box
The tray on the top is to store distress markers and some re-inker and paint bottles.
I used “Cool Edwin” stamp on one side of the box. The text was generated from computer with Graffiti font. This side represented a young boy who did anything he wanted just for fun no matter it was right or wrong.
Magnolia Cool Edwin
On the other side, I used “Artist Edwin” stamp to represent a man who demonstrated his artistic skills in the positive way.
Magnolia Artist Edwin

Both sides of the box represented a boy’s life. He might have made some mistakes when he was young. But he would learn and discover his strength to grow up to be a better man.

Materials:
  • Magnolia “Cool Edwin” stamp from Sweet Rainbow 2011 collection
  • Magnolia “Artist Edwin” stamp from Little Italy 2015 collection
  • Lawn Fawn “Harold’s ABCs” clear stamp
  • Hero Arts “Brush Strokes” stamp set
  • Die-Versions “Marquee” font alphabet dies
  • Magnolia Vintage Box 2nd Edition die
  • Black Cardboard
  • Studio Calico “Cat” wood veneer
  • Trims from La’boom

Here is the close up for young and old Edwin
Magnolia Cool Edwin Artist Edwin
Lastly, I would like to share my tips on how I store the blending foam for each ink colours. I add Velcro tape beneath each ink pads and stick the blending foam on the tape. However, if you store your ink pads by stacking them on each other, this technique will not work because Velcro tape and foam will make the ink pads not stacking together.
I would like to enter this project to these challenges.

I hope you like my project. See you again next time.

Sunday, June 14, 2015

Thanks from the Heart Card & Until We Meet Again Art Journal Page

Hi everyone! Today I have 2 projects to share with you. I made both projects as farewell gifts to my colleague.

The first gift is “Thanks from the Heart” card. I wanted to make a card to say thank you to him since he helped me a lot in the past 3-4 year we had been working together. I think a bouquet is a perfect symbol for thankfulness. I folded a piece of paper and used Martha Stewart “Doily Lace” edge punch to make a cone shape for bouquet. I stamped thank words in different languages using Simon Says Stamp “From Us” clear stamp. Then, I filled in the cone with soft foam hearts to replace flowers in order to match with the theme. The sentiment was stamped with Lawn Fawn “Claire ABCs” clear stamp. Then, attached to card base, pattern paper, and tied the red ribbon to finish the card.


Another project is an art journal page. Everyone in the team was given a piece of paper to write memorial message to him. I think art journal style would fit this purpose. So I made my first art journal page as another gift for him.

Materials:
  • Decoupage napkin
  • Gesso
  • Distress paint “Tarnished Brass”
  • Distress ink “Vintage Photo”
  • Hero Arts “Old Letter Writing” block stamp
  • Inkadinkado “Big Butterfly” block stamp
  • Inkadinkado “Floral Wood Cut” block stamp
  • Tim Holtz Stamper Anonymous “Flutter” cling stamp
  • Stampendous “Timeless Tags” clear stamp
  • Making Memories “Great Escape” clear stamp
  • WPlus9 “Folk Art Alphabet” die

I started by sticking decoupage napkin to the paper. The gluing process was not perfect however I really loved the wrinkles that napkin created. Then I applied gesso and blended the color with distress paint “tarnished Brass” and distress ink “Vintage Photo”. I used many stamps to create vintage look. These are the old stamps that I stored for years. Since I was not a fan of vintage style, I never made any projects from those stamps before. But I’m glad I had them on the shelf so I could use them to create vintage background on this art journal page.


Then, I made a tag and envelop using a piece of paper and colored with the same colors as the background but using more of Vintage Photo. I will write a memorial message on the tag later. The stamp on the envelop was Tim Holts “Flutter” cling stamp. I don’t have any vintage alphabet items to match this project and I need to get it done by the weekend. My friend was so generous to lend me her WPlus9 Folk Art Alphabet die so I could finish the project in time.

And I completed my first art journal page.


I entered my art journal page to these challenges:


That’s all for today. Thanks for stopping by and see you later.

Related Posts Plugin for WordPress, Blogger...